How to use the Clone Tool
Trace and copy any area of your photo with the Clone Tool to layer plants behind features, duplicate details, or manually cover something up in your landscape design.
The Clone Tool lets you trace around any area of your canvas and create a copy of it. This copy becomes a new design element that you can move, resize, duplicate, and layer — just like plants and objects. It's a powerful way to work with your background image creatively.
Removing something from your design? A custom AI prompt is the better way, and it works on any image, whether AI generated it or you uploaded it. See Remove a plant or item from a design. The Clone Tool is a good manual fallback when you want to cover a small patch by hand.
Step-by-step instructions
-
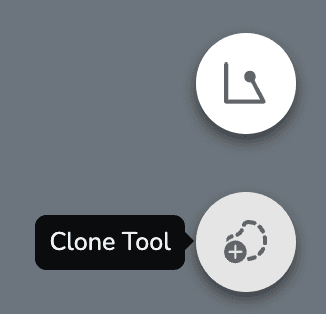
Click the Clone Tool icon in the bottom right corner of the canvas (a dotted partial circle with a plus sign)
-
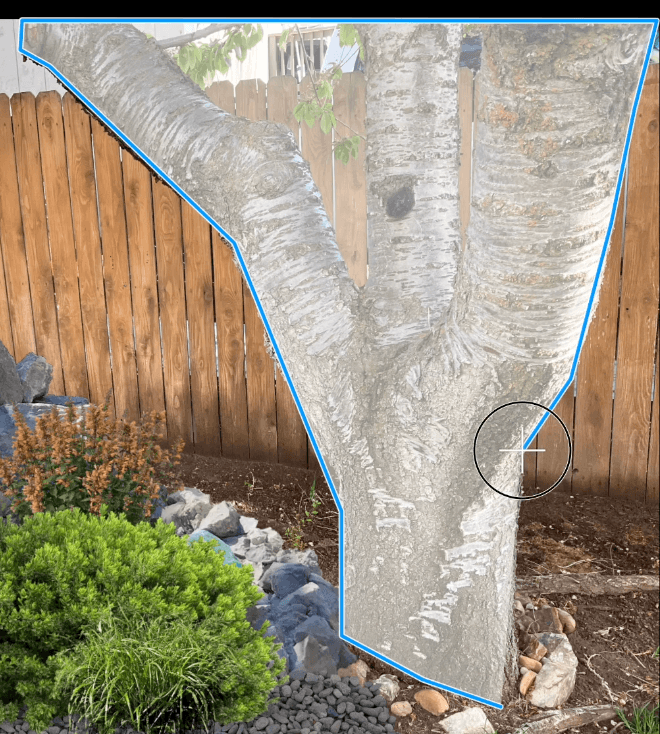
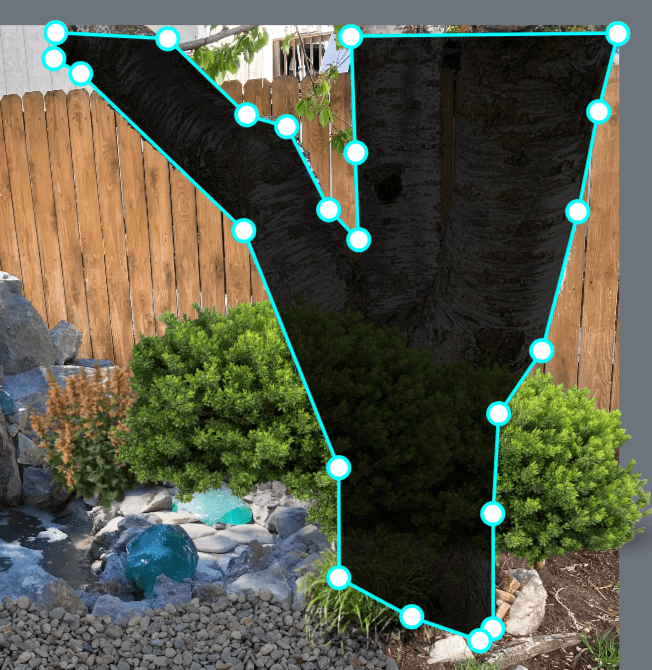
Click around the area you want to clone, placing points to trace its outline. Make sure your last point connects back to your starting point to close the shape
-
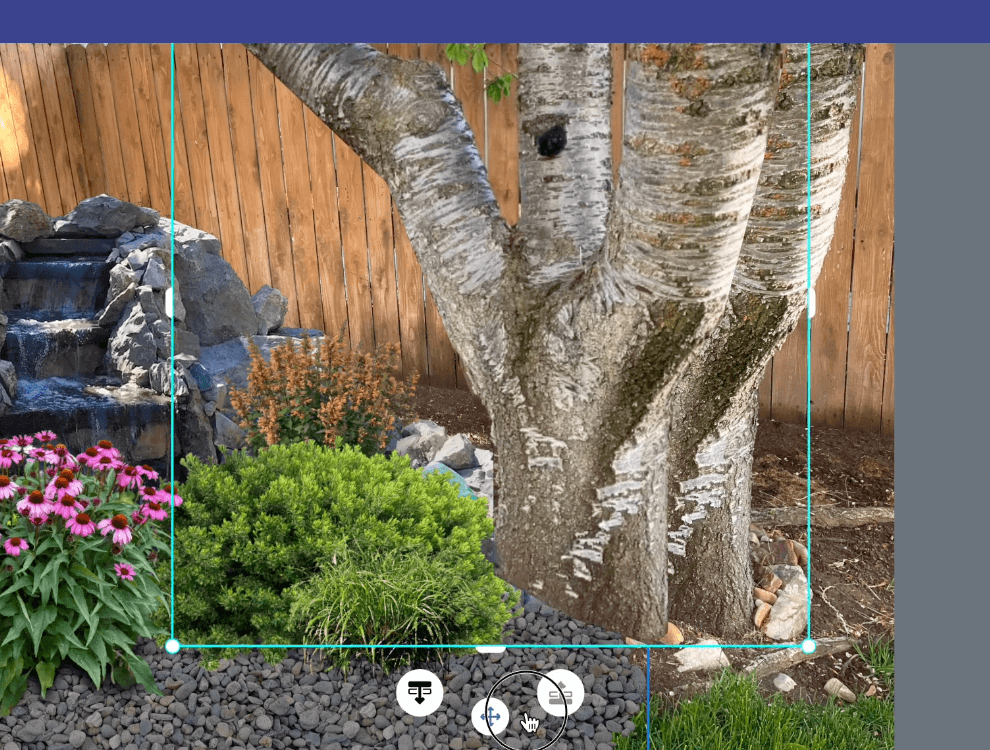
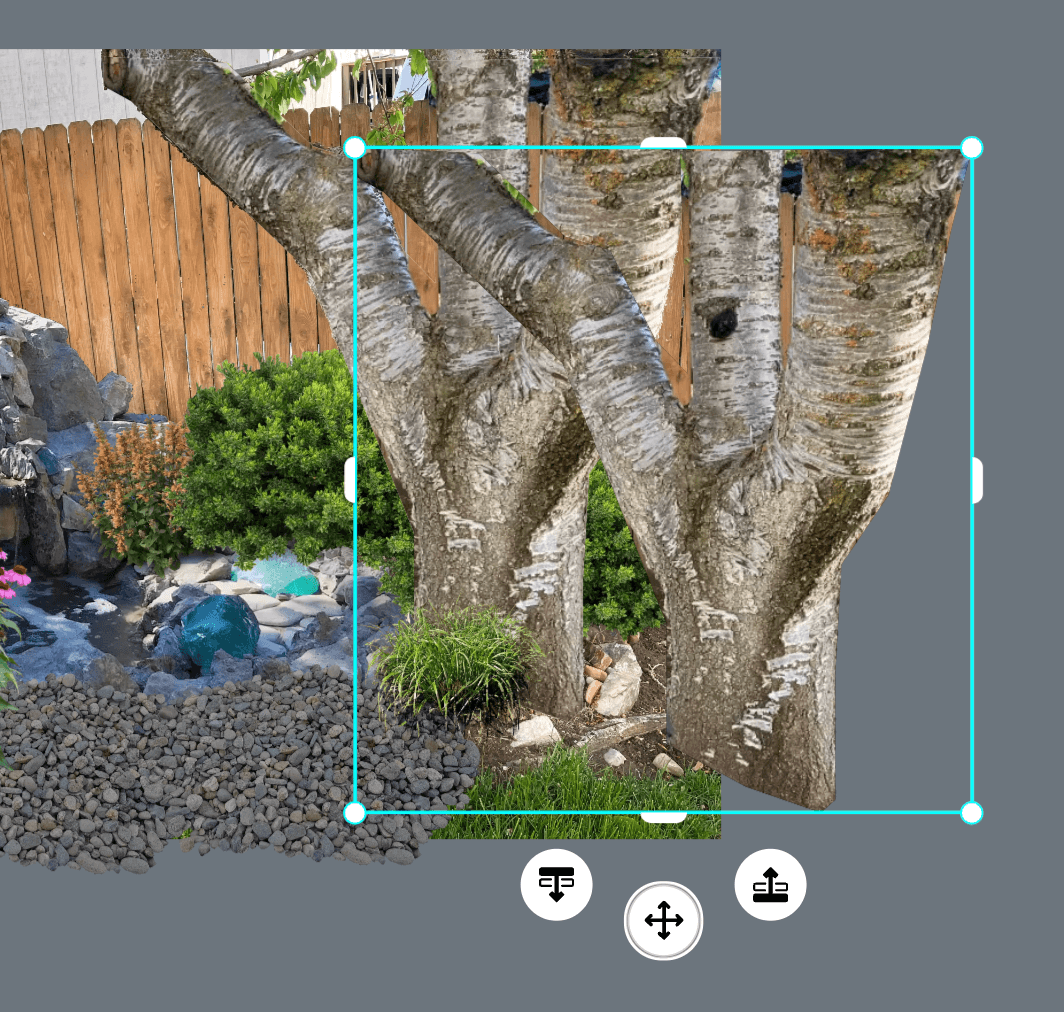
Once the shape is closed, a copy of that area appears as a new design element. You can now move it anywhere on the canvas, resize it, or duplicate it as needed
-
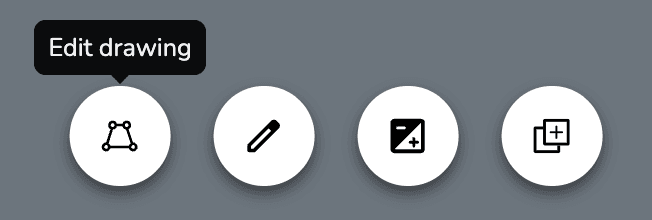
(optional) To edit the shape of your cloned element, select it and click the first icon at the bottom center of the canvas (a trapezoid with circles on the corners). This lets you adjust or add points. When finished, click the same button again to exit edit mode
-
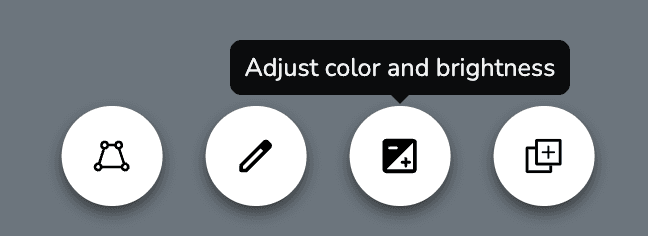
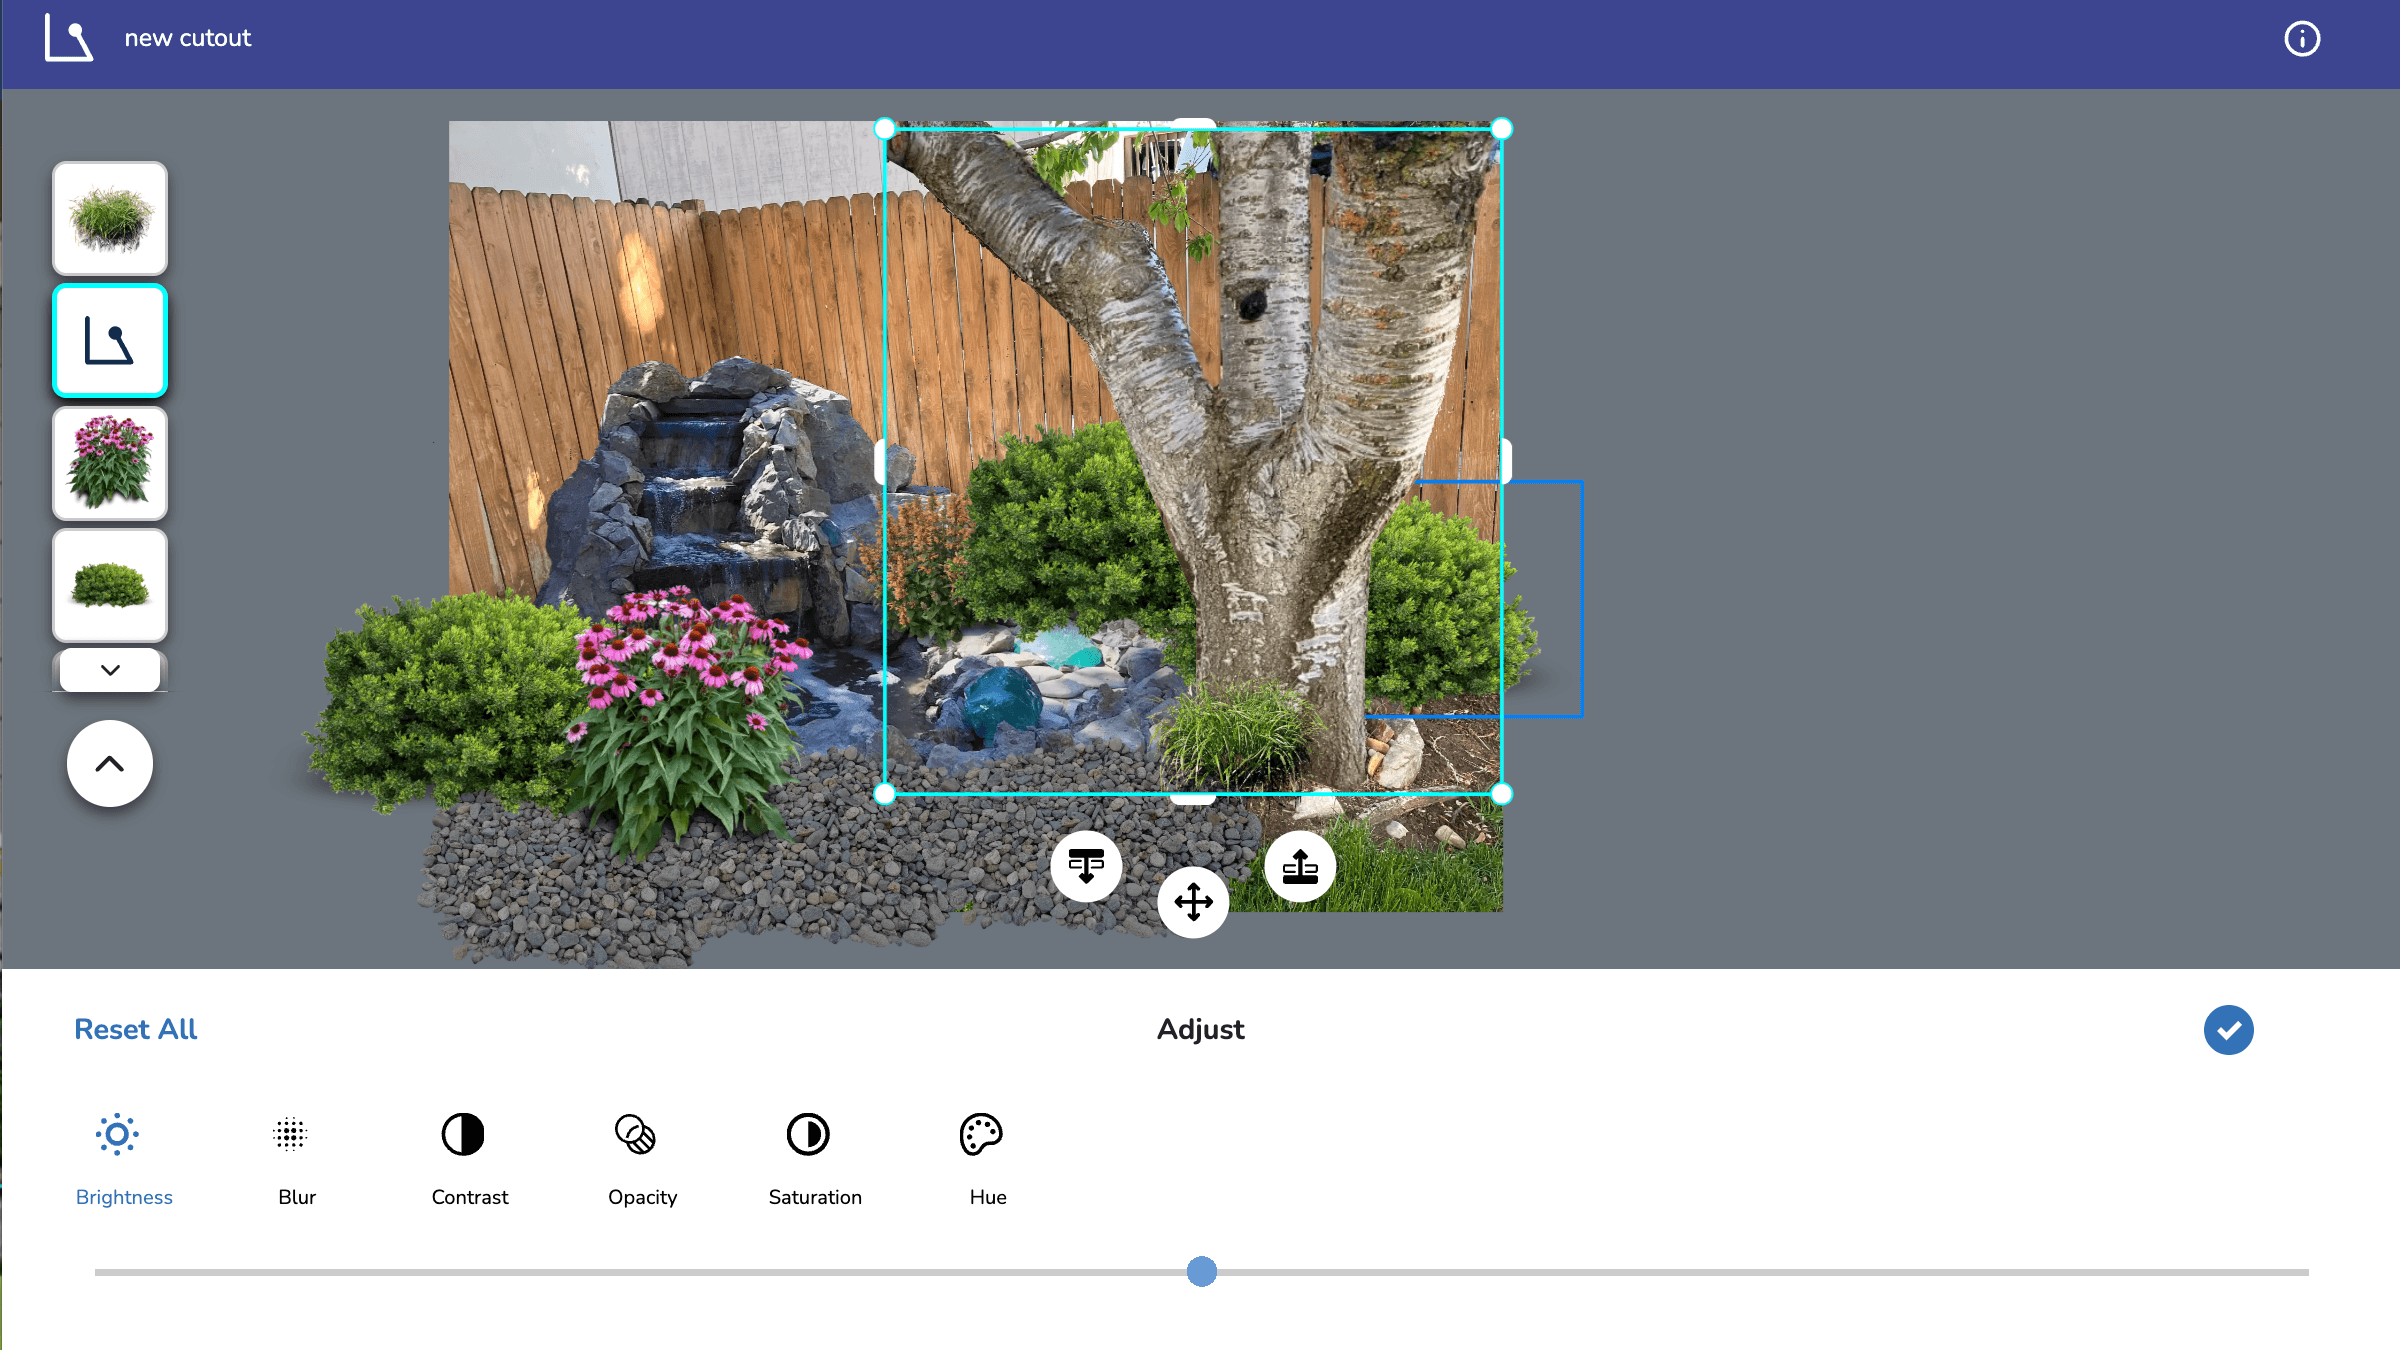
(optional) To adjust image settings like brightness, blur, contrast, opacity, saturation, or hue, select your cloned element and click the second icon at the bottom center (two lines with circles)
-
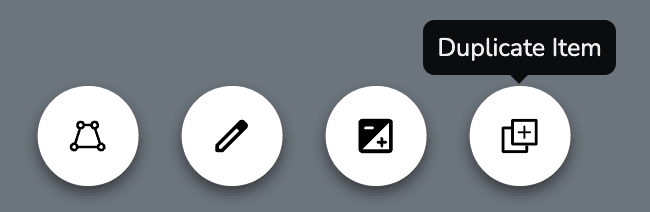
(optional) To duplicate your cloned element, select it and click the third icon at the bottom center (two pages with a plus sign)
-
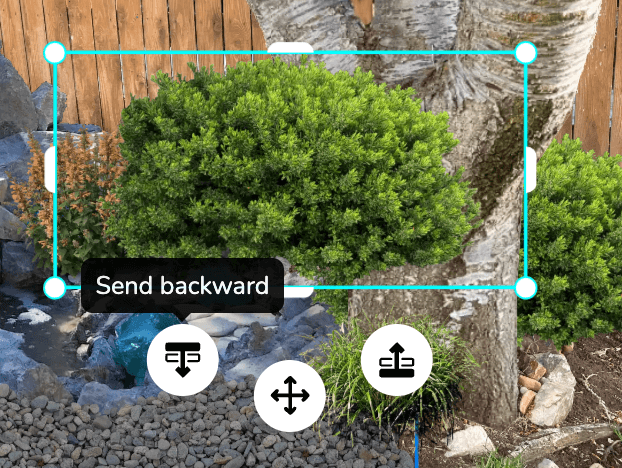
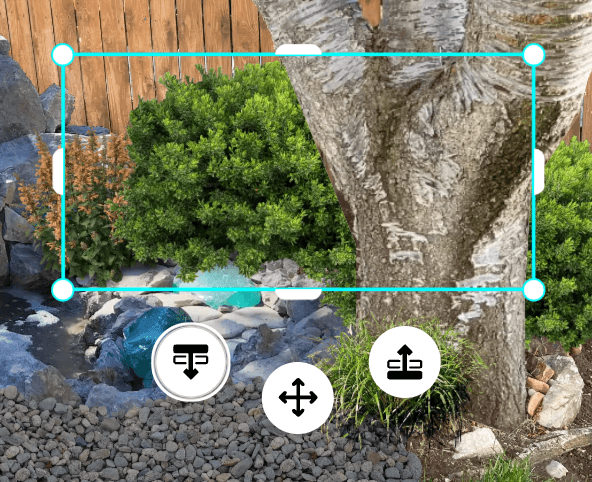
To move your cloned element forward or backward relative to other items, use the layer arrows that appear on the left side of the canvas when the element is selected
-
To delete a cloned element, select it and choose Delete from the selected-item toolbar, or press the Delete key on your keyboard.
Examples
Example 1: Place items "behind" elements in your background image
If you have a tree, fence, or other feature in your photo that you want plants to appear behind, trace around that feature with the Clone Tool. Then move the cloned element forward in the layer order. Now when you add plants or objects, they'll appear behind the cloned area, creating a realistic layered effect.
Example 2: Cover up an unwanted item by hand
Reach for AI first here. A custom prompt removes items cleanly and takes seconds — see Remove a plant or item from a design. Use the steps below when you want to do it by hand, or when custom prompts aren't on your plan.
To hide something you don't want in your photo — like a trash can, garden hose, or parked car — use the Clone Tool to copy a nearby area with a similar texture (such as grass, gravel, or fence). Position the cloned element over the item you want to hide. Duplicate and resize as needed until the unwanted item is fully covered.
Example 3: Duplicate existing features in your photo
If your background image contains an element you'd like to replicate — such as a decorative pot, garden ornament, or section of landscaping — trace around it with the Clone Tool. You can then duplicate, resize, and position copies wherever you'd like them in your design.
Working with the Clone Tool
Use the Clone Tool to trace and copy any area of your photo into a new design element you can move, resize, and layer into your landscape design.
Moving Items on the Canvas
Reposition design elements and control their layering so plants and objects sit in front of or behind each other for realistic depth in your landscape design.